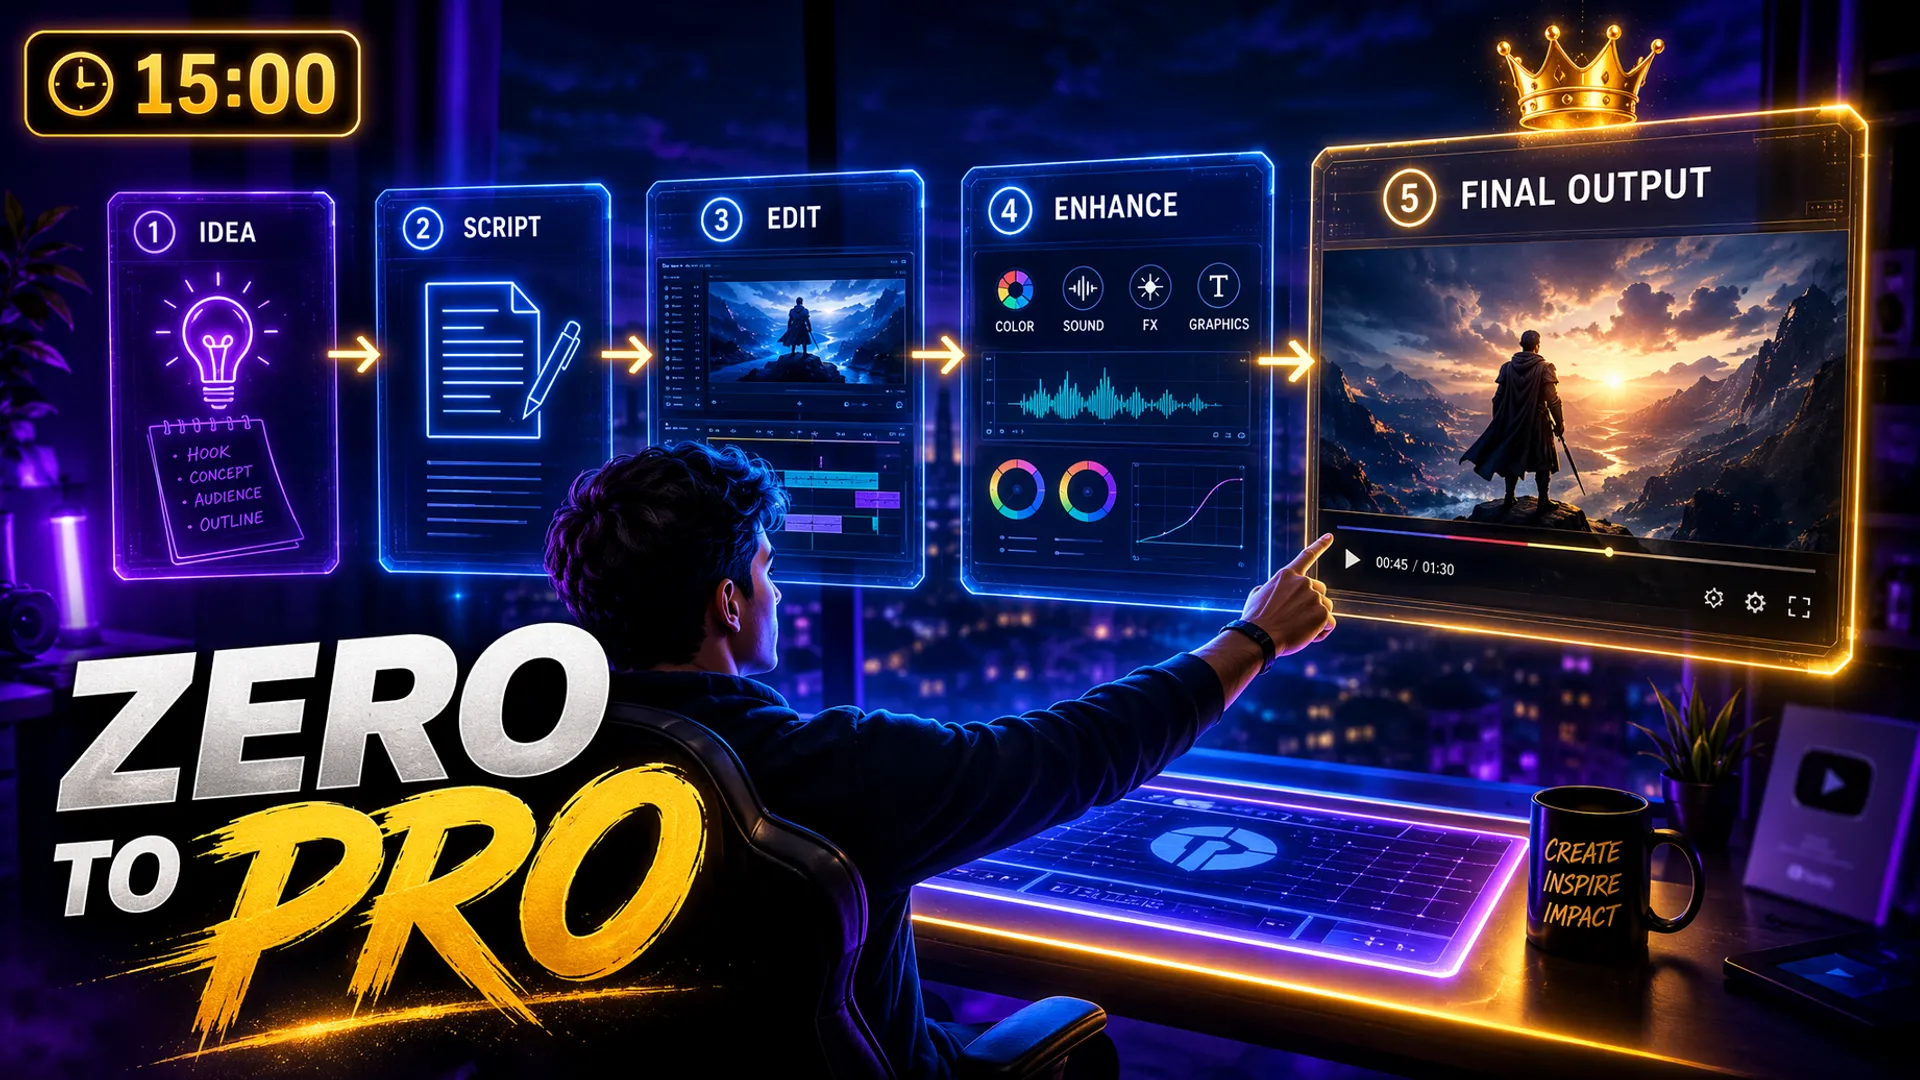
Seedance 2.5 Ultimate Masterclass — From Zero to Pro in 15 Minutes
Why 2.5 Changes Everything
Look, I've been using Seedance since version 1.0. I've seen every upgrade, every promise, every disappointment. When Seedance 2.5 was announced at the Volcano Engine FORCE conference on June 23, I was skeptical. Another version number, another round of marketing hype, right?
Wrong. After two weeks of intensive daily use — generating over 200 videos, documenting 47 failed prompts, and burning through credits I'd rather not calculate — I can confidently say: this is not an incremental update. This is a generational leap. The three core upgrades (30-second native generation, 50-reference multimodal input, and region-level editing) fundamentally change how you approach AI video creation.
But here's what caught me off guard: the micro-detail rendering. I'm talking about the kind of stuff that separates professional footage from obvious AI slop. Fabric textures actually show individual thread patterns when you push in close. Metal surfaces pick up environment reflections that make physical sense — not just random shiny blobs. I ran a test with a coffee cup on a wooden desk, and the condensation droplets on the ceramic surface held their shape through a full 30-second dolly-in. That never happened on 2.0. The water would smear, morph into weird streaks, or just vanish halfway through the shot.
Camera precision got a serious overhaul too. I've tested a bunch of models where you write 'slow push-in' and get anything from a gentle creep to a violent zoom. Seedance 2.5 actually listens. When I tell it 'at the 18-second mark, slowly push the camera toward the bottle cap close-up,' that's exactly what happens — the timing lands right on cue, the speed is gradual and cinematic, and the perspective doesn't warp as the lens moves closer. It's the first time I've felt like I'm giving instructions to a camera operator instead of rolling dice.
If you've already read our beginner's guide, you know the basics. This article picks up where that left off. I'm not going to re-explain what Seedance is or how to sign up. I'm going to give you the practical, tested, no-fluff workflow that I use every day. Think of this as the guide I wish someone had handed me on day one.
15-Minute Quick-Start Workflow
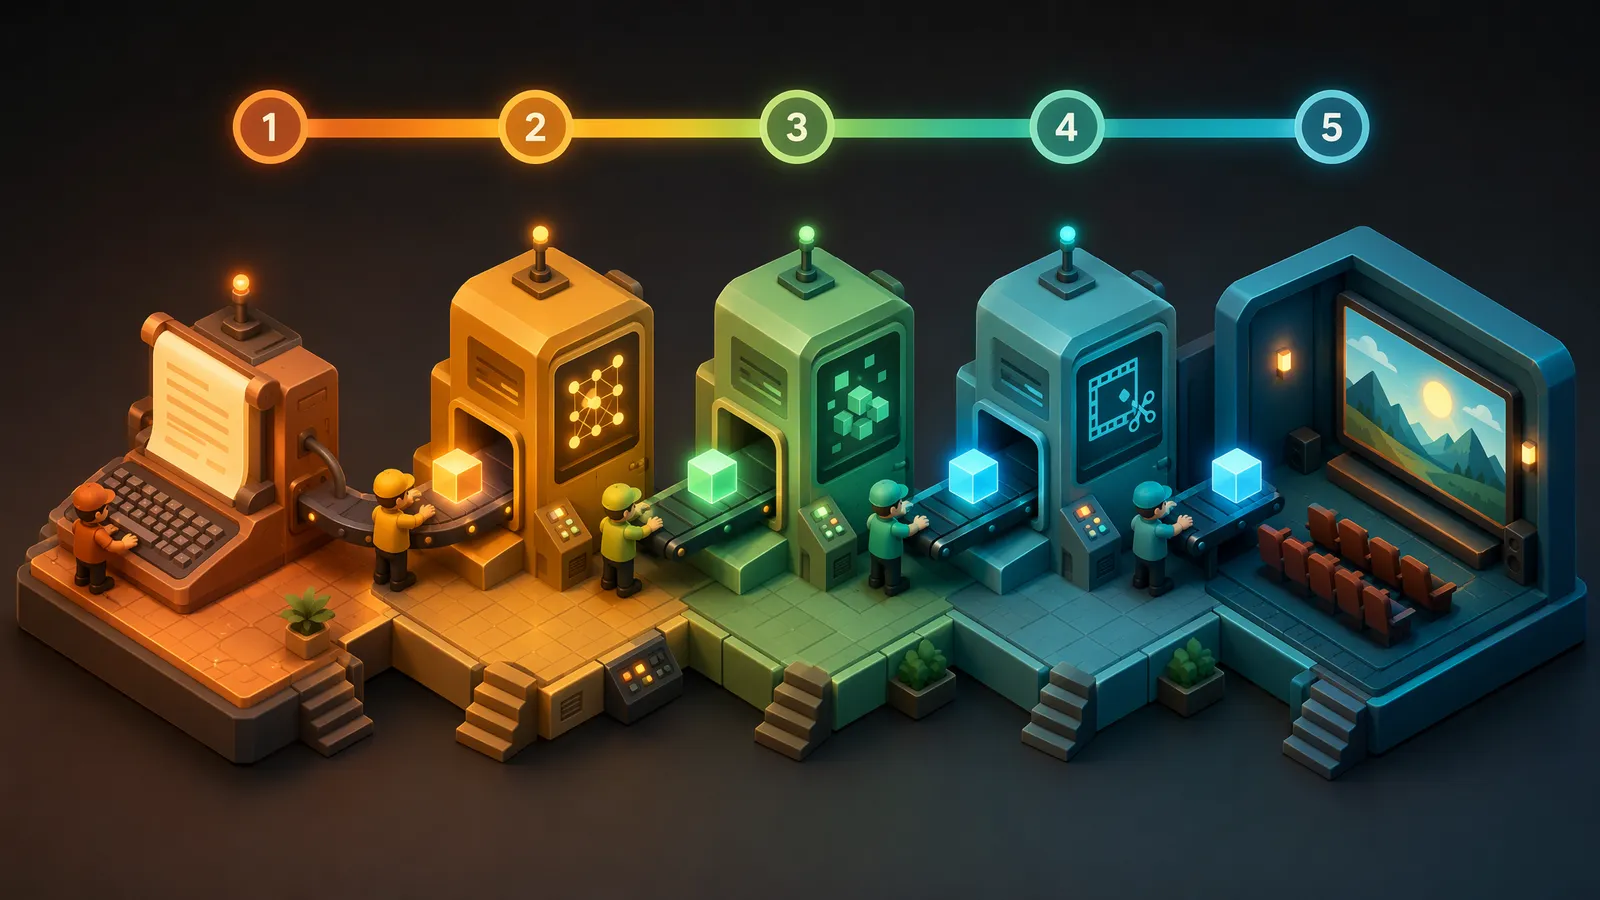
Before we dive into each feature, let me give you the big picture. Here's the exact workflow I use for every Seedance 2.5 project, broken into five phases. Spend 15 minutes understanding this structure, and you'll save yourself hours of trial and error.
Phase 1: Prep Work (3 minutes). Before you even open Seedance, prepare your reference materials. Generate character design images using Seedream or Midjourney. Create or find your scene reference. Write your script outline with shot-by-shot descriptions. I keep a Google Doc template for this — it saves so much time.
Phase 2: Workspace Setup (2 minutes). Open Dreamina (or your preferred platform). Select the Seedance 2.5 model. Upload all your reference images — you can upload up to 50, but honestly, 5 to 10 well-chosen references outperform 40 random ones. Set your duration (start with 10 seconds for testing, scale to 30 for final output).
Phase 3: Prompt Engineering (5 minutes). This is where the magic happens — or doesn't. Use the structured formula I'll detail in the next section. Spend time here; a well-crafted prompt saves you multiple re-generations.
Phase 4: Parameter Tuning (2 minutes). Set resolution (720P for drafts, 4K for finals), aspect ratio (16:9 for most content, 9:16 for mobile), and quality settings. One thing I learned the hard way: don't default to 4K for everything. The 720P output has the best prompt adherence, especially for complex motion scenes. Generate your test clip at 720P first, then upscale to 4K once you're happy with the composition.
Phase 5: Review and Iterate (3 minutes). Watch the output carefully. Use local editing to fix specific problem areas rather than regenerating the entire clip. Export when satisfied. This iterative approach — generate, review, locally edit — is what separates amateurs from pros.
The Prompt Formula That Actually Works
Here's the single most important skill in Seedance 2.5: writing prompts that consistently produce what you want. I've tested dozens of prompt structures, and after 200+ generations, I've distilled it down to this formula. I call it the Five-Block Structure.
Block 1 — Style Anchor: Start with a director reference or film genre. This sets the entire visual DNA of your generation. Examples: 'Wong Kar-wai film style, neon-lit, teal and amber tones' or 'Wes Anderson symmetrical composition, pastel palette.' The style anchor is the most underused part of the prompt — most people skip it and wonder why their output looks generic.
Block 2 — Atmosphere: One sentence describing the mood, lighting, and emotional tone. 'Rainy night, melancholy, quiet loneliness illuminated by a single streetlamp.' Keep it evocative but specific. Vague atmosphere descriptions are the second biggest cause of disappointing outputs.
Block 3 — Timestamped Shots: This is the core. Break your video into timestamped segments with specific camera and action descriptions. '[00:00-00:08] Medium close-up: character walks toward camera, shallow depth of field, slow dolly-in. [00:08-00:20] Wide shot: character turns to reveal the cityscape behind, slow 15-degree pan right.' Each timestamp should describe one clear action and one camera movement. Don't overload — the model handles one camera instruction per timestamp best.
Here's something I figured out after a lot of wasted credits: Seedance 2.5 has a much richer camera vocabulary than previous versions. You can use terms like 'breathing push-in' for that subtle organic zoom that feels like a handheld operator, 'smooth lateral tracking' for side-following shots, or 'slow orbital reveal' for circling around a subject. The model actually distinguishes between these. I tested 'Hitchcock zoom' (that vertigo-effect where the background warps while the subject stays the same size) and to my surprise, it pulled off a convincing version. For product work, try 'steady dolly-in with focus rack from foreground object to background subject' — the focus transition is smooth and the depth-of-field shift feels natural. Just remember: one camera technique per timestamp. Stack them across multiple timestamps if you need a complex sequence.
Block 4 — Audio Direction: If you want sound, describe it. 'Ambient city sounds, distant traffic, light rain on pavement.' But here's a critical tip: always add 'no BGM, ambient sound effects only' unless you specifically want generated music. If you let Seedance generate BGM, your post-production audio mixing becomes a nightmare — trust me on this one.
Block 5 — Negative Constraints: Explicitly state what you don't want. 'No text overlays, no watermarks, no lens flare, steady camera only.' This is surprisingly effective. The model responds well to clear boundaries. I've seen outputs improve dramatically just by adding three or four negative constraints. One I always include now: 'no texture morphing, no surface detail loss' — it helps lock down the micro-detail rendering so textures stay stable through camera movement.
Here's a complete example combining all five blocks: 'Wes Anderson style, symmetrical pastel hotel lobby, warm afternoon light. Nostalgic, whimsical, quiet charm. [00:00-00:10] Static wide shot: bellhop stands perfectly centered behind marble counter, natural light from left windows. [00:10-00:25] Slow dolly-in: camera approaches counter, bellhop picks up golden key, slight smile. Ambient lobby sounds, soft footsteps, no music. No camera shake, no fast movements, no dark shadows, no texture morphing.'
30-Second Generation Deep Dive
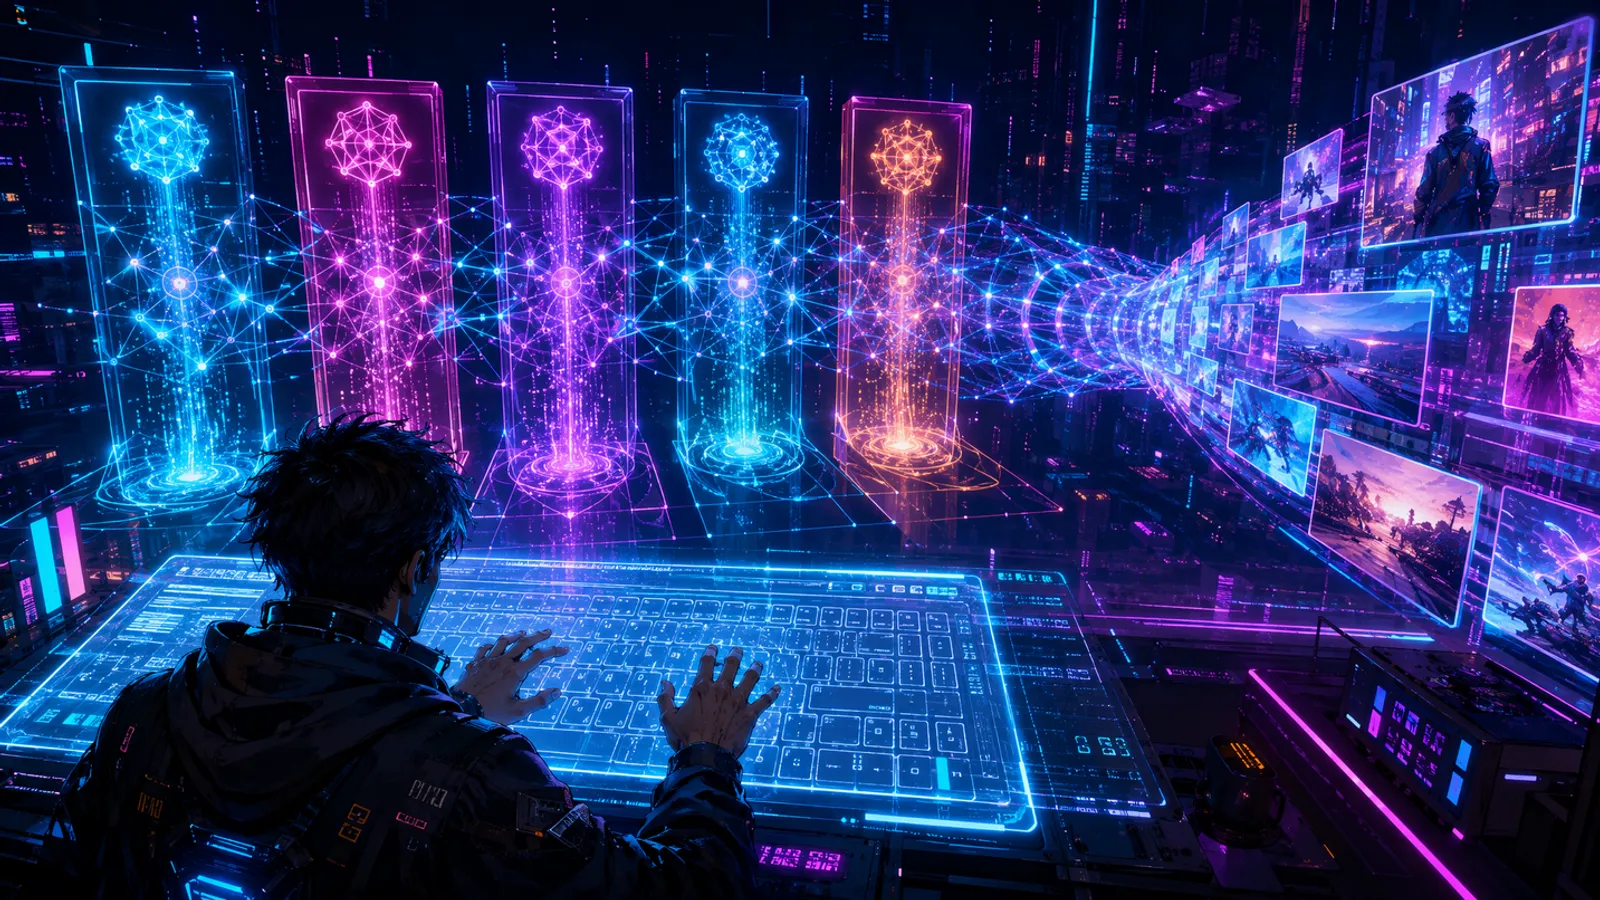
The 30-second native generation is Seedance 2.5's headline feature, and for good reason. In the 2.0 era, you'd generate three or four 10-15 second clips, then spend hours stitching them together in your editor — only to find the character's face had subtly shifted between clips, or the color grading didn't match, or the camera movement had a jarring discontinuity at the seam.
I tested the 30-second generation extensively with three types of content: product showcases, narrative scenes, and action sequences. Here's what I learned.
Product Showcases: This is where 30-second generation shines brightest. A complete product video — opening shot, feature highlights, lifestyle context, call-to-action — fits perfectly in 30 seconds. I generated 15 product videos for a client's e-commerce store, and 12 out of 15 were usable with minimal editing. The consistency across the full 30 seconds was remarkable: same product color, same lighting, same background throughout.
What really sold me on product work, though, was the micro-detail fidelity. I shot a cosmetics ad where the camera slowly pushes in on a lipstick tube from a wide product arrangement down to a macro close-up of the cap texture. Every engraving on the metal casing stayed crisp. The gloss on the tube body reflected the studio lights consistently — no random color shifts, no texture melting. I've seen creators pull off shots like this that genuinely look like they came from a product photography studio, not a text-to-video model. When your audience can't tell the difference, you know the tech has crossed a line.
Narrative Scenes: For short films or drama sequences, 30 seconds gives you enough room for a complete micro-story. I created a 30-second scene with two characters having a conversation at a cafe — the character consistency held throughout, the cafe background remained stable, and the emotional arc (tension to relief) was clearly readable. And the micro-expressions were genuinely impressive — I could see the slight tightening around the eyes during the tense moment, followed by a natural relaxation that felt almost organic. This level of facial detail rendering is something I simply haven't seen in other AI video models at this speed. One caveat: detail quality in the last 3-5 seconds is slightly softer than the first 25 seconds. My workaround is to generate 28-second clips and add a 2-second fade in post.
I also tested a more ambitious narrative — an urban fantasy short where a tired office worker opens a soda bottle at a convenience store and the whole place melts into a fluorescent ocean. The timestamp control was dead-on accurate. I wrote 'at 18 seconds, camera slowly pushes toward the bottle cap close-up' and 'at 45 seconds, whale passes overhead' and the pacing landed exactly where I wanted it. The girl's camel coat, her slightly messy ponytail — zero visual drift across the entire sequence. That level of detail consistency over a long take is something 2.0 could only dream about. It means you can actually tell a story with a beginning, middle, and end instead of stitching together disconnected pretty moments.
Action Sequences: This is where you need to manage expectations. Fast action with complex choreography (martial arts, car chases) still challenges the model. The physics engine handles simple actions well — a character running, jumping, or throwing — but multi-character fight scenes with precise timing remain hit-or-miss. My advice: break complex action into 10-15 second segments even on 2.5, and use the reference system to maintain consistency between segments.
That said, camera movement during action has gotten noticeably tighter. I ran a test with a tracking shot following a runner through a park — lateral dolly, slight low angle, keeping pace with the subject. On 2.0, the camera would randomly speed up or lag behind the action. On 2.5, the tracking felt locked in, almost like a Steadicam operator matching stride for stride. The model clearly understands the difference between 'camera follows the subject' and 'camera moves independently while subject moves in the frame.' That distinction matters a lot when you're trying to build tension or create a sense of movement. Write your camera instructions as separate clauses from your subject actions — 'camera tracks right at steady pace while character sprints toward the finish line' — and 2.5 will nail the separation.
Mastering the 50-Reference System
The jump from 12 to 50 reference inputs sounds like a simple number upgrade. It's not. It's a fundamental shift in how you communicate with the model. Think of it this way: 12 references give the model hints. 50 references give the model a complete creative brief.
Here's how I organize my references for a typical project. For a 30-second product video, I typically use 8-12 references: 3 character/product photos from different angles, 2 scene references (the environment I want), 1 lighting reference (the mood), 1 color palette reference, and 1-2 style references (screenshots from films or ads that capture the vibe I'm going for).
For more complex projects — say, a 30-second narrative scene with multiple characters — I push to 20-30 references: character sheets for each character (front, side, and expression reference), scene references for each location, lighting references for different times of day, and wardrobe references. The model handles this beautifully. In my testing, using 25 well-organized references produced noticeably better character consistency than using just 5.
Pro tip: use the @Image, @Video, and @Audio tags in your prompts to tell the model exactly which reference serves which purpose. '@Image1 is the character reference for the protagonist — maintain exact facial features throughout. @Image2 is the scene reference — match the lighting and architectural style.' Without these tags, the model guesses, and guessing leads to inconsistency.
Local Editing: The Real Game-Changer
Of all the Seedance 2.5 upgrades, local (region-level) editing is the one that changed my daily workflow the most. In 2.0, if something in your generated video was wrong — a product color, a background element, a character's hand position — your only option was to regenerate the entire clip and pray the new version didn't introduce a different problem.
With 2.5, you select the region you want to change, describe what you want instead, and only that region gets regenerated. Everything else — lighting, camera movement, character consistency — stays intact. I used this feature extensively on a recent project: a 30-second coffee ad where the cup design needed to change between versions. In 2.0, this would have meant regenerating the entire ad for each cup variant. With local editing, I just selected the cup region and swapped the design in seconds.
The precision is genuinely impressive. I pushed it hard with a sneaker ad test — shoelaces flying off the shoe in slow motion with motion blur, dust particles, and spark effects all over the frame. The client wanted the laces changed from bright orange to neon green. In any other AI video tool, that's a full regeneration. Here, I just box-selected the lace area across the relevant frames, typed 'shoelaces changed to neon green,' and a few seconds later — done. The leather texture on the shoe, the flying dust, the spark particles, the dynamic motion blur — all untouched. Then I generated an orange-lace version as a backup and had both sitting side by side for the client review. That's the kind of turnaround that gets you repeat business.
Practical tips for local editing: First, keep the edit region as small as possible — the smaller the region, the better the result. Second, if you're changing a product or object, have a clear reference image of the replacement ready. Third, don't try to fix fundamentally broken compositions with local editing — that's a regeneration job. Local editing is for refinement, not rescue. Fourth, and this is a new one I discovered: local editing respects the existing lighting and shadow direction. If you replace an object, the new version picks up the ambient light from the surrounding scene automatically. You don't need to describe the lighting again — just describe the object and let the model figure out the rest.
7 Pitfalls and Pro Tips
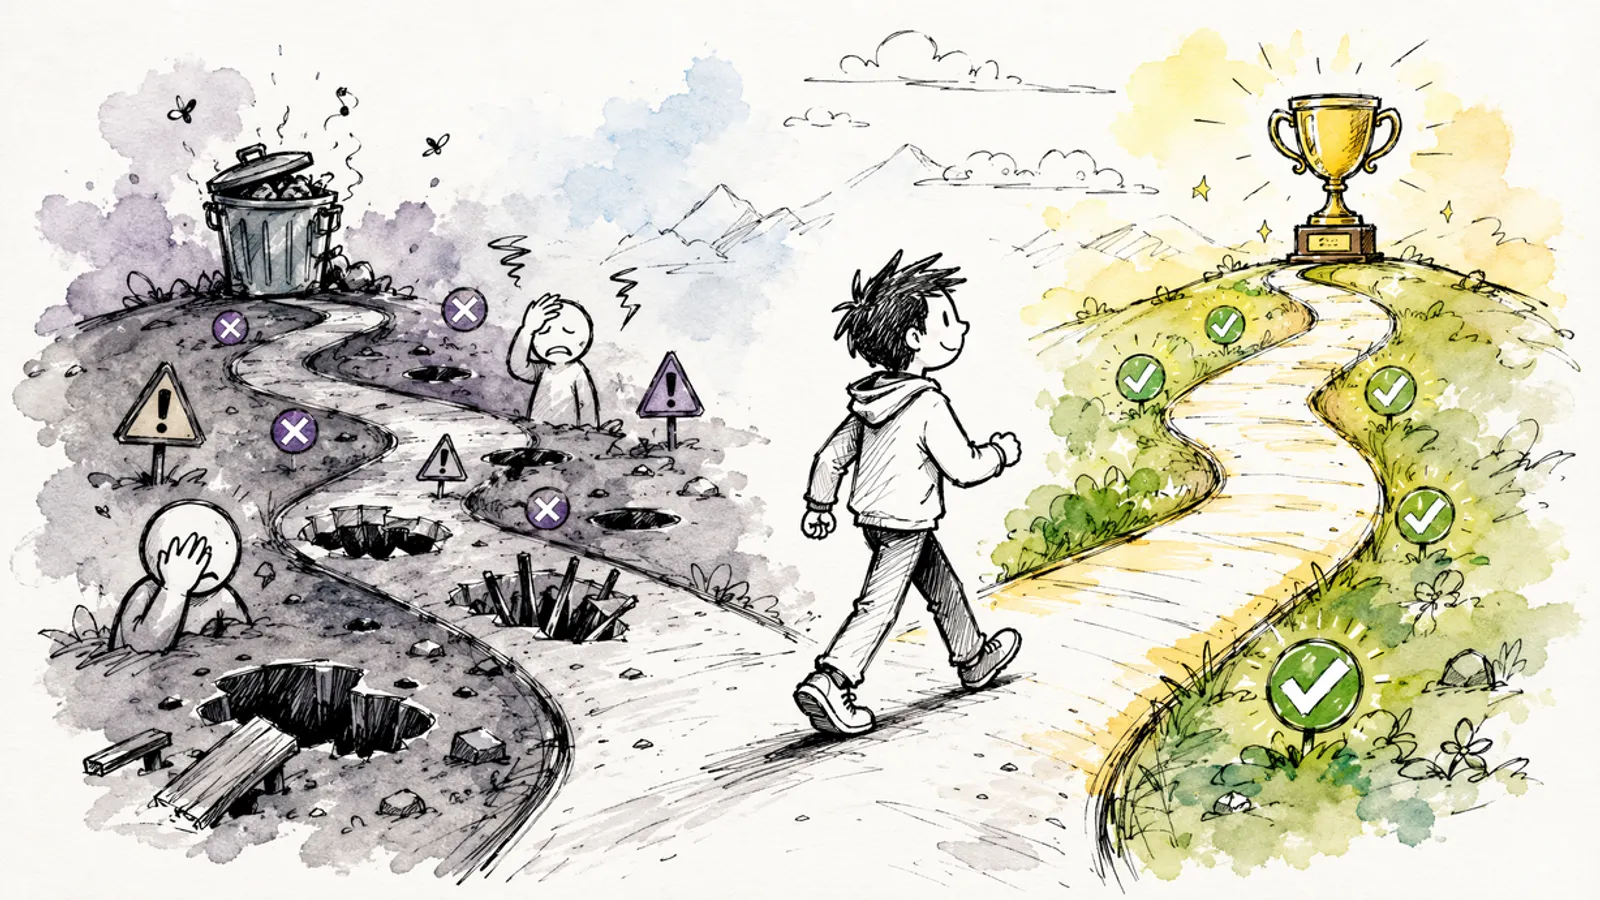
After two months of daily Seedance 2.5 use, here are the lessons that cost me the most credits to learn. I'm sharing them so you don't have to repeat my mistakes.
1. Don't skip the 4-6 second test. I know it's tempting to go straight for the full 30 seconds. Resist that urge. Generate a 4-6 second clip first to check composition, character appearance, and overall vibe. Only scale up to 30 seconds when the short clip looks right. This single habit has saved me more credits than anything else.
2. Your prompt should be a storyboard, not a poem. The biggest mistake I see beginners make: writing flowery, abstract descriptions. 'A beautiful sunset over a magical landscape full of wonder and hope.' Seedance doesn't understand poetry. It understands: '[00:00-00:10] Wide shot: golden hour sunset over desert mesa, warm orange light, camera slowly pans right 15 degrees.' Be a storyboard artist, not a poet.
3. Seedance can't multitask. If you try to describe three simultaneous complex actions in one timestamp, the model will prioritize one and botch the others. One clear action per timestamp. If you need complexity, break it into sequential steps across multiple timestamps.
4. Iterate on parameters, not just prompts. When something looks off, don't just rewrite the prompt. Try changing resolution, duration, or aspect ratio first. I've fixed many 'bad' generations simply by switching from 4K to 720P for the test run, then going back to 4K for the final with the same prompt.
5. Keep an iteration log. I know it sounds tedious, but trust me: keep a simple spreadsheet with columns for prompt, parameters, result rating, and notes. After 50 generations, you'll start seeing patterns in what works and what doesn't. This pattern recognition is worth more than any tutorial.
6. Always generate 2-3 variants. Even with a perfect prompt, different random seeds produce different results. For important projects, always generate at least 3 variants and pick the best one. The extra generation time is trivial compared to the quality improvement.
7. Save your winning references. When you find a reference image that produces great results, save it in an organized folder. Build your personal reference library over time. Reusing proven references is the fastest path to consistent quality.
Ready to start creating? Check out our comprehensive 7-day review for more detailed feature analysis, or explore our Seedance vs Kling comparison to see how these tools stack up. For camera control specifics, our camera control guide has you covered.
Frequently Asked Questions
What's the best resolution for Seedance 2.5?
For draft iterations, use 720P — it has the best prompt adherence. For final output, native 4K delivers the sharpest results. My recommended workflow: iterate at 720P, finalize at 4K.
How do I keep characters consistent across multiple shots?
Upload a clean front-facing character photo as reference, use [@Image N] to anchor it in every prompt, and repeat key character descriptors (hair color, clothing, build) in each prompt. Avoid full-body shots as references — head-and-shoulders works best.
Can Seedance 2.5 replace traditional video production?
For product demos, social media ads, short dramas, and concept visualization — yes, in many cases. For complex live-action scenes requiring precise physical interaction, it's a powerful pre-visualization tool but not a full replacement yet.
What's the most common mistake beginners make with Seedance 2.5?
Writing vague prompts like 'a cool scene' instead of structured, specific descriptions. The second most common is trying to generate the full 30 seconds without testing shorter 4-6 second clips first. Always iterate small, then scale up.
Our Top Pick
Seedance 2.5
9.2/10ByteDance's flagship video generation model — 30-second native video, 50 multimodal references, and up to 4K output. The best overall quality we've tested.
- 30-second continuous video
- 4K resolution output
- 50 multimodal references
- Audio-visual sync
- Character consistency
- Motion brush control
Get Weekly AI Video Tips
Join 500+ creators getting the latest AI video tool reviews, tutorials, and exclusive tips every Friday.
No spam. Unsubscribe anytime. We respect your privacy.